Entity
The Entity section allows Global Event Admins to update and manage
Company Information
Event admins can update information related to their company. The GPS application uses this information for contracts and invoicing purposes.
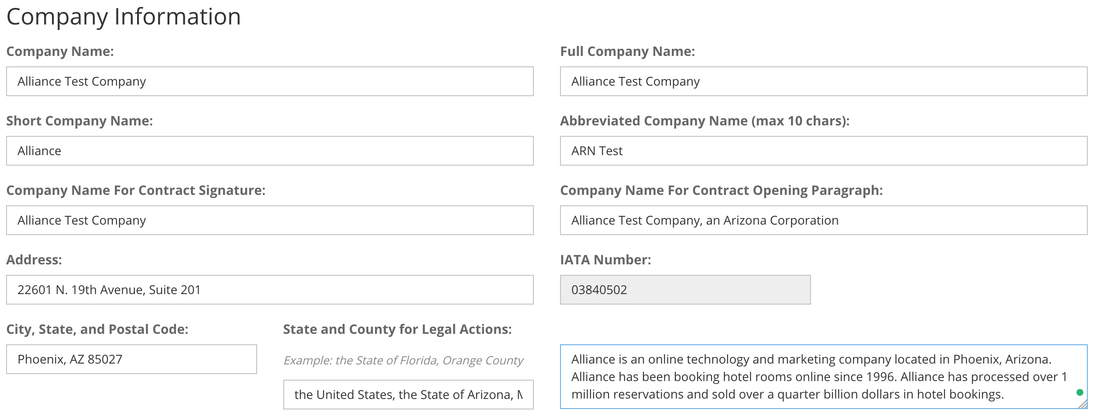
Company Information
Event admins can update information related to their company. The GPS application uses this information for contracts and invoicing purposes.
- Company Name
- Full Company Name
- Short Company Name
- Abbreviated Company Name
- Company Name For Contract Signature
- Company Name For Contract Opening Paragraph
- IATA Number
- Address
- City, State, and Postal Code
- State and County for Legal Actions
- Company Description
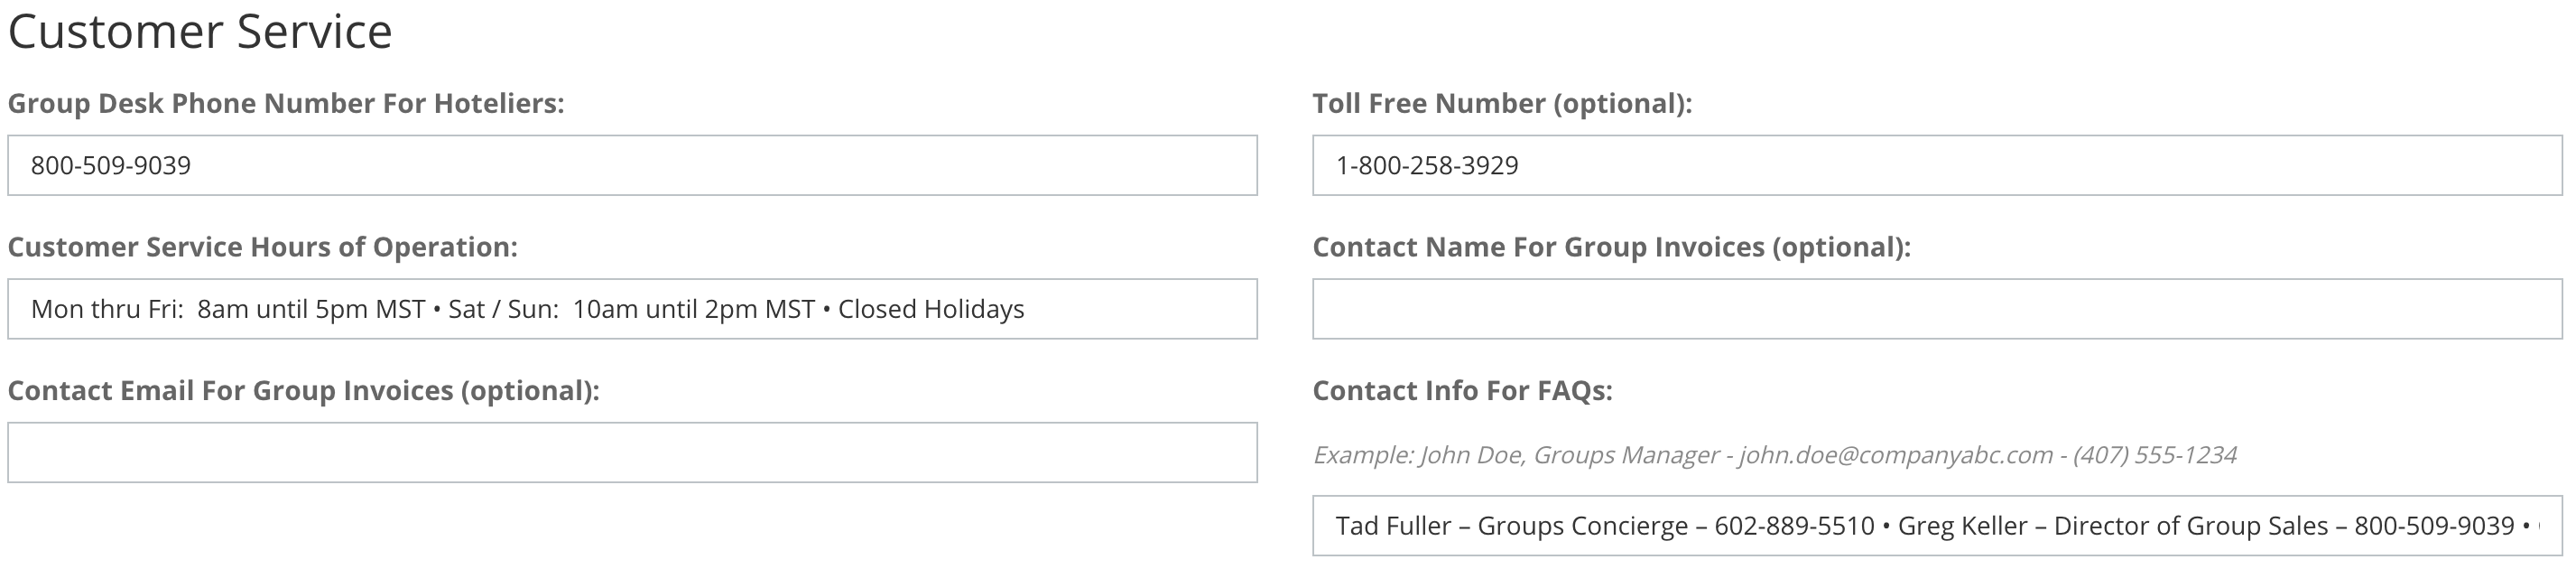
Customer Service
We use the Customer Service information in multiple locations within the GPS application.
We use the Customer Service information in multiple locations within the GPS application.
- Group Desk Phone Number For Hoteliers - Used on the FAQs section of a contract
- Toll-Free Number (optional) - Used on emails to guests sent from GPS, and on the Reservation Terms section of a contract
- Customer Service Hours of Operation - Used on emails to guests sent from GPS
- Contact Name For Group Invoices (optional)
- Contact Email For Group Invoices (optional)
- Contact Info For FAQs - Added to the FAQs section of a contract
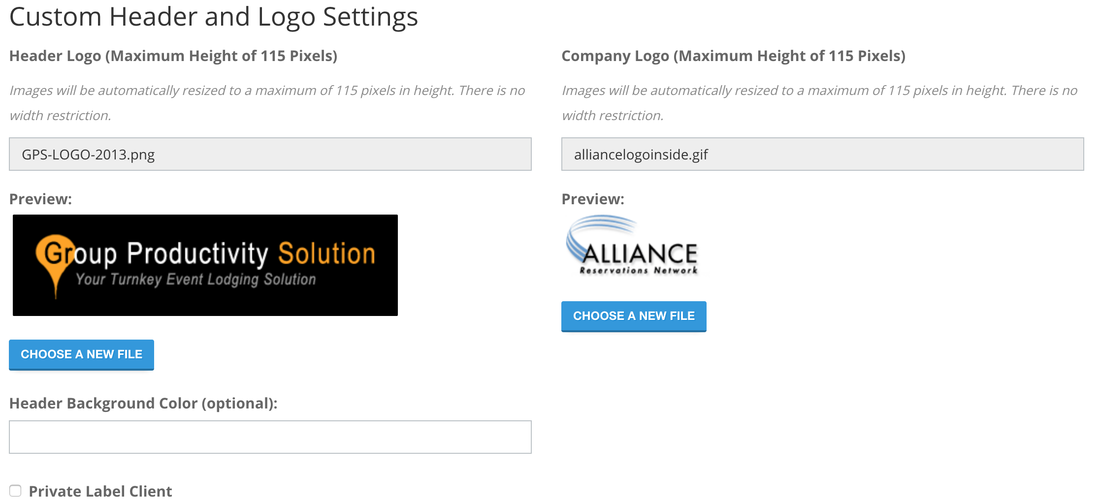
Custom Header and Logo Settings
- Header Logo - Used on the property view pages (Property RFP and Rooms Manager)
- Header Background Color - Used as a background color for the Header Logo
- Company Logo - Used in the header of contracts and emails sent to guests
- Private Label Client - Default setting is to have this enabled, determines if uploaded logos will display or if Alliance/GPS logos will be displayed
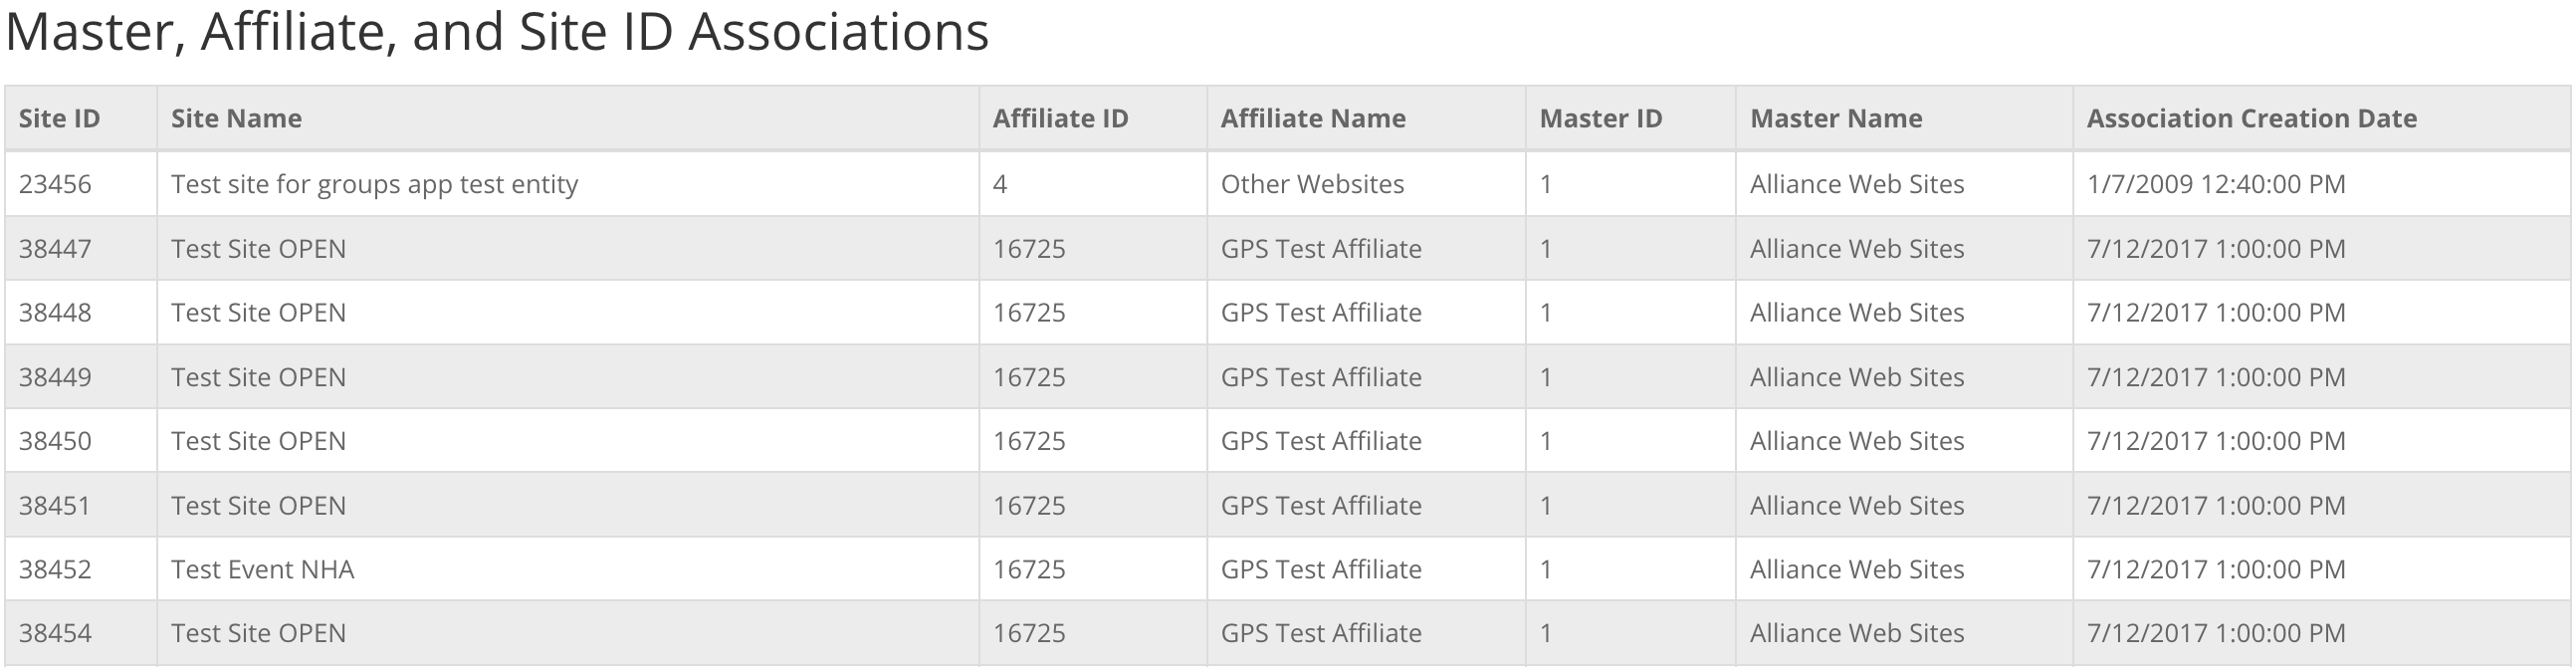
Master, Affiliate, and Site ID Associations
The Master, Affiliate, and Site ID Associations table displays a list of all site IDs associated with an entity.
The Master, Affiliate, and Site ID Associations table displays a list of all site IDs associated with an entity.
Application Users
Use this page to add Event Managers and assign/edit each person's permissions inside the GPS application. By default, each Event Manager can view every event associated with your company. During each RFP creation, the Event Manager (or Admin) can turn off one or many other Event Managers from viewing any particular event on the Property Contacts page. (This doesn't sound true)
Existing Users
Lists existing users associated with an entity, provides information about the user's admin level, permissions, active status, username, and e-signature file.
Existing Users
Lists existing users associated with an entity, provides information about the user's admin level, permissions, active status, username, and e-signature file.

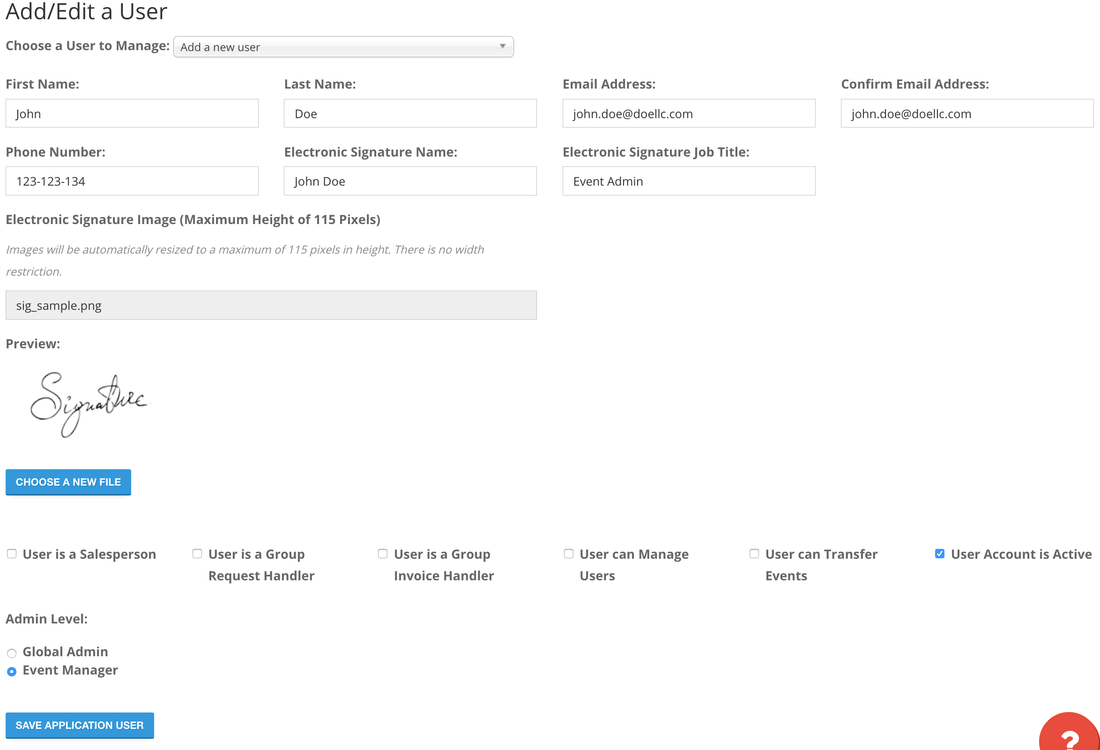
Add/Edit a User
To add a new user just fill in the empty fields first name, last name, email address, phone number, electronic signature name, electronic signature title, and upload a signature file. The signature image, signature name, and title are used on the property RFP page. Next, select what permissions you would like to apply to the new user.
To add a new user just fill in the empty fields first name, last name, email address, phone number, electronic signature name, electronic signature title, and upload a signature file. The signature image, signature name, and title are used on the property RFP page. Next, select what permissions you would like to apply to the new user.
User is a Salesperson - Enables or disables the ability of a user to create a Request For Proposal (RFP).
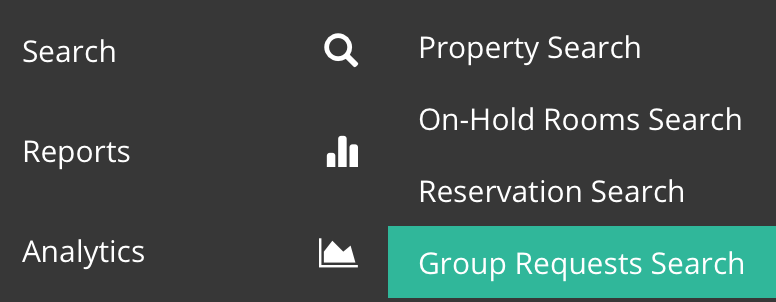
User is a Group Request Handler - Enables or disables the ability of a user to access the Group Requests Search page.
User is a Group Request Handler - Enables or disables the ability of a user to access the Group Requests Search page.
User is a Group Invoice Handler - Enables or disables the ability of an event admin user to access the Reconciliation page.

User can Manage Users - Enables or disables the ability of a user to add/edit application users.
User can Transfer Events - Enables or disables the ability of a user to transfer an event to another user.
User Account is Active - Activates/Deactivates a user's account associated with an entity. When deactivating a user, any events assigned the user must be transferred to another active user.
Admin Level
User can Transfer Events - Enables or disables the ability of a user to transfer an event to another user.
User Account is Active - Activates/Deactivates a user's account associated with an entity. When deactivating a user, any events assigned the user must be transferred to another active user.
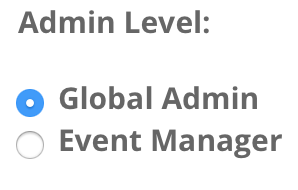
Admin Level
- Global Admin - Has access to event pages and settings page
- Event Admin - Has access to event pages
Brand & Chain Contacts
Enter the default contacts you would like this application to send RFPs out to based on the brand or chain property you select. On the Send RFP page and the Property Contacts page, you can override these default contacts for any specific event or property.
To add a new Brand or Chain contact select a Brand or Chain from the drop-down, enter a name, and an email address for the contact person.
To add a new Brand or Chain contact select a Brand or Chain from the drop-down, enter a name, and an email address for the contact person.

Selecting the "Is Contact Blind Submitter?" checkbox will create an NSO contact. That contact person will get a special "Forward" link in the RFP invitation

Once a new Brand or Chain contact is added their details will be listed in a table.

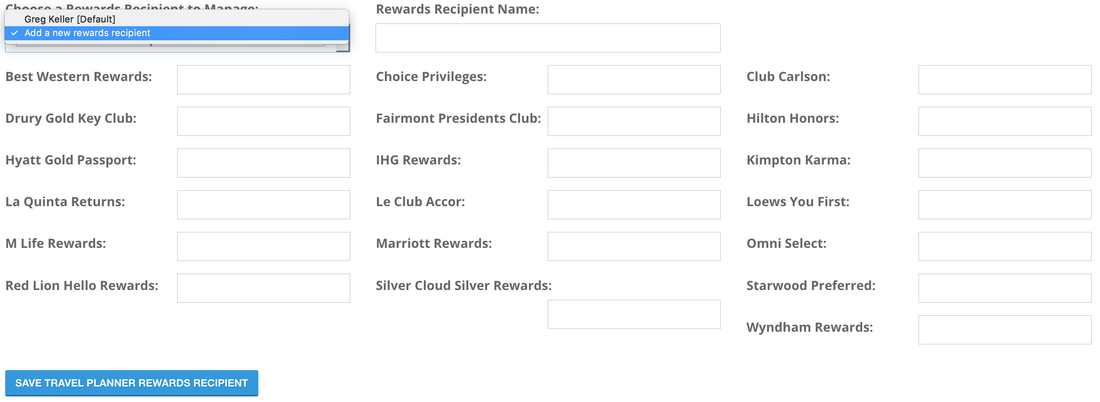
Travel Planner Rewards #s (Numbers)
We automatically populate travel planner rewards numbers in each RFP you send out based on the Brand or Chain selected and based on the default recipient. If you need an additional rewards recipient (perhaps you would like the rewards to go to your client) create this set by clicking "Add new Rewards Recipient." If other rewards recipients are added to this page, in the RFP event set-up, you can choose the party you would like rewards points to be assigned to per event.
To add a new rewards recipient, select "Add new rewards recipient" from the "Choose a Rewards Recipient to Manage:" drop-down, enter a name in the "Rewards Recipient Name:" input, and click the "Save Travel Planner Rewards Recipient" button.
To add a new rewards recipient, select "Add new rewards recipient" from the "Choose a Rewards Recipient to Manage:" drop-down, enter a name in the "Rewards Recipient Name:" input, and click the "Save Travel Planner Rewards Recipient" button.